If you are not comfortable to edit configuration files, choose option 1 to set up networking in an interactive way.
Method 1 – Using nmtui Tool
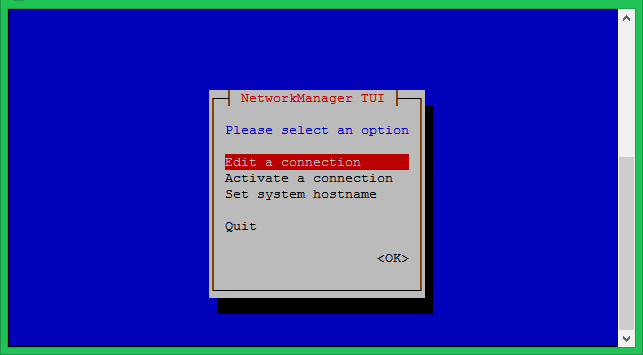
Execute the following command to get access to an interactive way of network interface configuration. Now, edit the default existing connection. In case no connection is available, use Activate a connection.
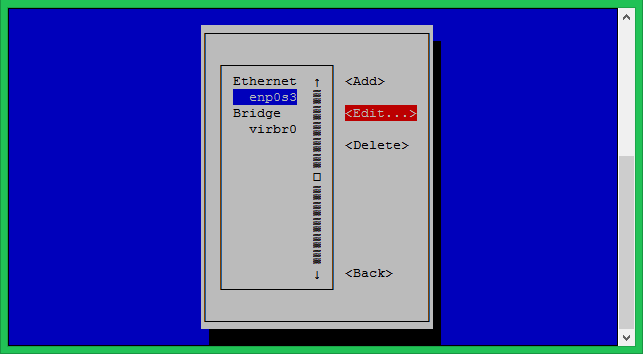
You will see the list of Ethernet interfaces, Select the interface you want to configure, Then select Edit option on the right side of the interface.
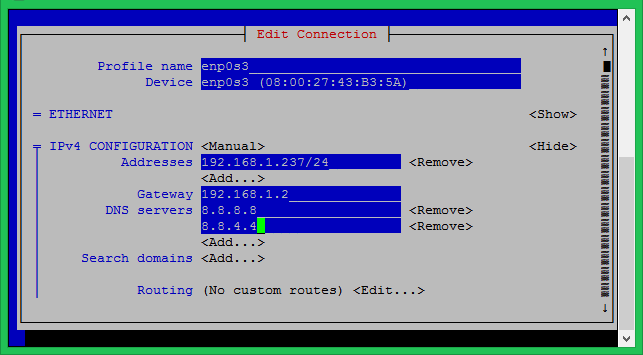
Keep the profile name and device name unchanged. Set the IP address, gateway and DNS servers under the IPv4 configuration option. You can add multiple addresses by selection option just below IP address box.
Save the configuration and restart the NetworkManager service using the following command.
Method 2 – Using Configuration Files
The default netework interfaces configuration file exists in /etc/sysconfig/network-scripts/ directory. The file name may vary as per your installation type like Physical machine or Virtual machine. The configuration file shoul be like ifcfg-XXXX (eg: ifcfg-eth0, ifcfg-eth1, ifcfg-enp0s3 etc) Use the following configuration to configure a static IP address for your CentOS 8 network interface. Static IP Configuration: Alternatively, if you want to assign IP address via the DHCP server use the following settings. DHCP Configuration Details of configuration parameters:
DEVICE: Ethernet device name BOOTPROTO: dhcp or static ONBOOT: yes/no , it tells that interface will automatically up or not on boot. Type: Type of interface. USRCTL: yes/no , it tells that a non root user can bring this device up or down.
Save the configuration and restart the NetworkManager service using the following command. All done.