This tutorial will help you to install Apache OpenOffice 4.1 on Ubuntu 20.04 LTS system.
Step 1 – Installing Java
Apache OpenOffice 4.1 required Java runtime 8 or higher version to run on any platform. Make sure you already have installed Java on your system. To install latest available OpenJDK Java on your Ubuntu system, type: After completing installation, check the installed Java version by running command:
Step 2 – Download Apache OpenOffice Debian Package
Apache OpenOffice Debian packages are available for download on official web page. You can visit download page and download the latest Debian packages, or use the following command to download files on your system. Once the download is complete, extract the Debian packages on your system. This will create an installation directory named en-US under the current directory, and place all the Debian packages there.
Step 3 – Install Apache OpenOffice on Ubuntu
Before installing OpenOffice make sure you don’t have installed OpenOffice on your system. If have, uninstall it using the following command. Then, navigate to Apache OpenOffice extracted packages directory and DEBS folder. You will see a list of Debian packages there. Install all packages using the following command. Next is to install the desktop integration features. Navigate to the desktop-integration directory, and install the required package.
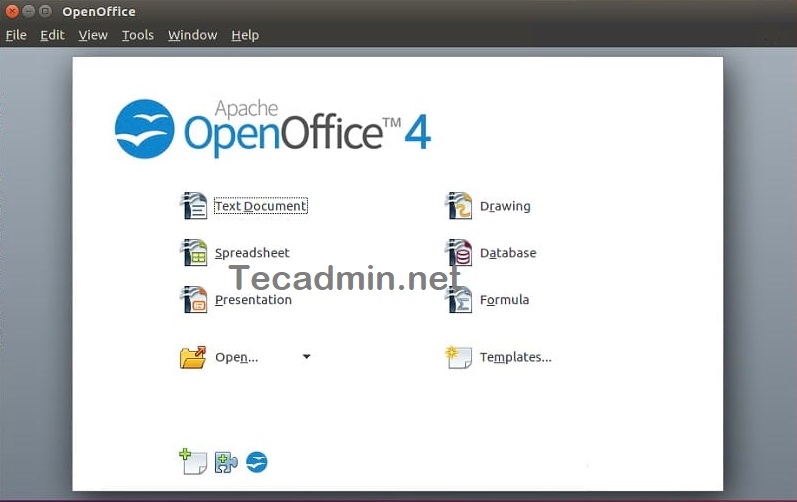
Step 4 – Launch Apache OpenOffice
After successful installation of all the packages in the above steps, You have installed Apache OpenOffice on your system. Now launch the OpenOffice suite from command line by typing:
Conclusion
In this tutorial, you have learned to install Apache OpenOffice on Ubuntu 20.04 LTS Linux system.